Summary
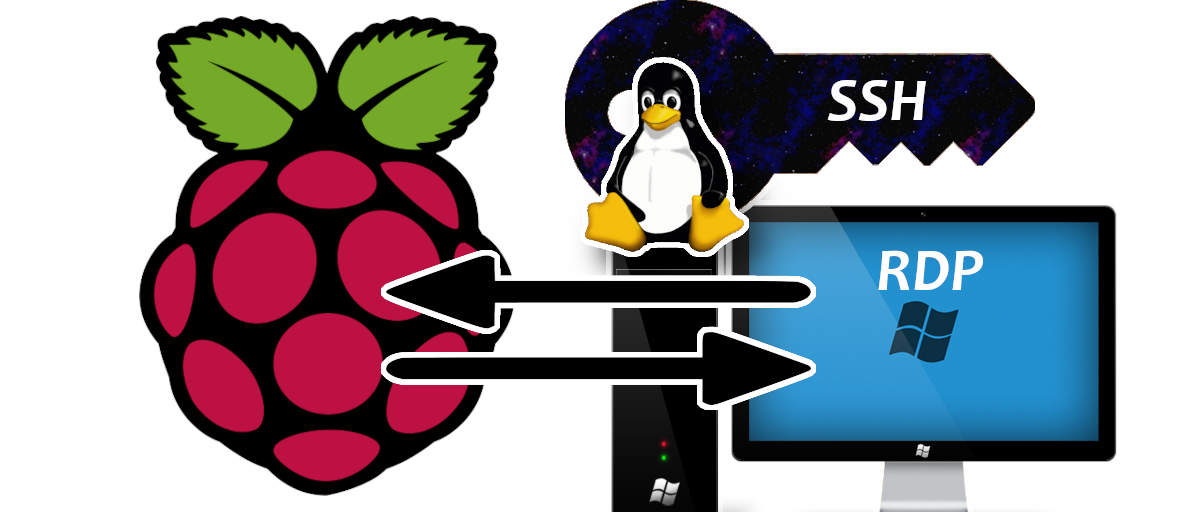
This article documents how to remotely access your Raspberry Pi using either Secure Shell (SSH) or Remote Desktop Protocol (RDP).
The benefit of remote access is that you do not need to constantly plug in a wired keyboard and mouse to do some configuration on your Pi devices.
The SSH access is ideal for cases with exclusive involvement of the terminal. The remote desktop access is required for situations using the graphical desktop environment.
Bluetooth Setup
If you want to have reliable bluetooth when powering the raspberry pi, you will need to ensure that you “trust” the device after pairing with it. See the details listed below.
You can access the bluethooth cli by typing “bluetoohctl”
The most useful commands are:
- power on - turns on bluetooth system
- pairable on - sets controller to be in pairable mode
- scan on - starts scanning for device mac addresses in the bluetooth range/vicinity
- pair
- attempts to pair the device e.g. keyboard - trust
- will remember the paired device and will auto connect to device next time its powered on - exit - quits cli tool
IP Address
Something that’s common to both processes is that they both require the IP Address of the device.
To get the IP address, you can type this command into the Raspberry Pi terminal:
hostname -I

# or

ping raspberrypi.local

# or

ifconfig
Secure Shell (SSH) Remote Access
For the SSH Remote Access, I will be connecting to my Raspberry Pi via my Arch Linux VM which is running a zsh terminal. But you can follow this process on any shell, it will be exactly the same.
Pre-requisites
- Set up wireless networking capability onto the boot disc.
- Obtain Raspberry Pi’s IP Address
- Create hostname for IP in the /etc/hosts file
- Ensure Raspberry Pi “Server” has OpenSSH Daemon running as Service
Setting Up Networking
Assuming you are running a minimal distribution such as Raspberry Pi Lite OS, you will need a way to get access to the internet.
Get the SD from the Pi which has the image installed onto it, and read it from your main PC.
The following steps will be performed in git bash, but you can also do this in your file explorer:
Navigate to the boot device volume and create an ssh file:
touch ssh
In the same directory (boot), we need to make a wpa_supplicant.conf file. This will provide the configuration to enable you to connect your wireless network setup.
vim wpa_supplicant.conf
Then enter the following into the configuration, and substitute the placeholders with your own network SSID and password to access the Wi-Fi.
ctrl_interface=DIR=/var/run/wpa_supplicant GROUP=netdev
update_config=1
country=<Insert 2 letter ISO 3166-1 country code here>
network={
    ssid="WIFI-NAME"
    psk="WIFI-PASSWORD"
}
You can safely remove the SD card from your PC.
Put the SD Card back into the Pi and power it on.
Ensuring OpenSSH Daemon is running (For Linux server)
For Raspberry Pi I’m assuming this is running by default, however, for other Linux systems, you will have to ensure that it is installed AND enabled as a service. Otherwise you will encounter a lot of confusion when your SSH requests are not being accepted:
- If openssh is not installed on your server, then install using your relevant package manager e.g.: sudo pacman -S openssh
- To check the status of the daemon: systemctl status sshd
- If it disabled then start the service systemctl start sshd
- By default it will be listening for TCP connections on port 22
SSH Into Raspberry Pi Via Terminal
From the terminal of the machine you are trying to attempt the remote access, you can SSH using this command:
ssh <USERNAME>@<IP_ADDRESS>
If you didn’t configure your pi user credentials, for reference these are the defaults:
- username: pi
- password: raspberry
So the SSH command may look like this for example:
ssh pi@192.---.-.---
You would then be prompted with a password for which you will have to enter in order to gain access.
But for security purposes I recommend you make your own username and password, then substitute with your own credentials.
The userame on the Raspberry Pi is filpill, so it would be modified like this:
ssh filpill@192.---.-.---

Replacing IP Address with Hostname
Now obviously its not that easy to remember an IP address every time you want to SSH into the Pi. So we could store an alias for the IP in the /etc/hosts directory.
sudo vim /etc/hosts
You’ll want to add a line in this file with the IP Address and hostname of the Raspberry Pi. The line you will add will look similar to this:
192.---.-.--- raspberrypi
So the next time you want to SSH into the Pi, instead of writing the full IP address, you can just write this:
ssh filpill@raspberrypi


The command functions all the same in addition to being much easier to remember into the future.
SSH Keys - Password-less Access
In order to increase the security of the SSH protocol, its recommended to create a set of SSH keys.
You can simply create a key-pair in your shell with this command:
ssh-keygen
Then you will want to get the public key onto the raspberry pi to enable the key pair interaction. And it’s similar to SSH’ing into your device.
ssh-copy-id filpill@raspberrypi
This will copy the public key into your pi, so the next time you try to SSH into the Pi, it will automatically unlock using the private key on your computer.
Remote Desktop Access via Windows
For demonstation purposes I will be using the Windows 10 Remote Desktop Connection application to provide my access. The same concepts can be applied to alternative software.
Pre-requisites
There are a few of pre-requisite tasks to complete before attempting remote access:
- Install a Graphical OS environment for the Pi
- Obtain the Pi’s IP Address
- Install xrdp on the Raspberry Pi
- Add a secondary user to the Raspberry Pi with Sudo privillages
- Enable Remote Desktop Access in the raspi-config
Install xrdp
To install xrdp, type this command into the Raspberry Pi terminal:
sudo apt-get install xrdp
Then you need to start the xrdp service like this:
sudo systemctl start xrdp
New/Secondary User
To add a new user, type this command:
sudo adduser <INSERT USERNAME>
Skip all the prompts to fill in user details with the Enter Key.
Then to give the user sudo privileges i.e. adding them to the sudo group:
sudo adduser <INSERT USERNAME> sudo
Enable Remote Desktop Access
To enable this access, you need to enter the command:
sudo raspi-config
You need to navigate it the interface options; you need to enable the graphical remote access on the VNC option.
Then finish the config to apply the settings and reset the Raspberry Pi.
Windows - Remote Desktop Connection Application
Now you can switch back to the Windows PC environment.
Open the Remote Desktop Connection App.

Enter the IP Address you noted earlier from the Raspberry Pi and proceed to connect.
You should find yourself inside a login screen for xdrp.

For the user credentials, you should use the username and password you created on the Raspberry Pi as the secondary user.
You should now have graphical access to your Raspberry Pi via your Windows Machine.

Note: This RDP procedure only works in a graphical OS, this does not apply to minimalist operating systems without a graphical UI because the display server will have nothing to render.