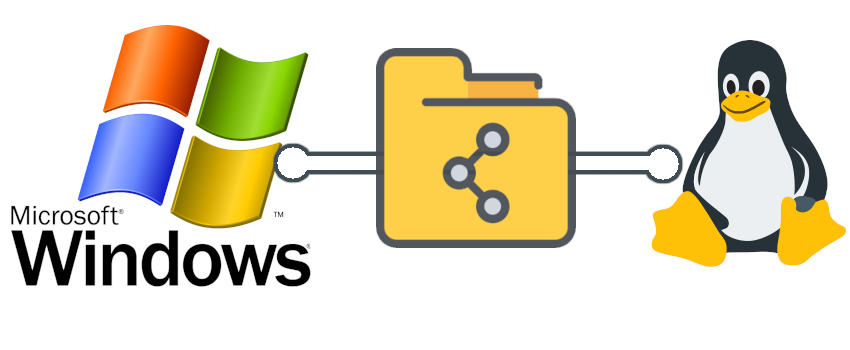
Why Share Files Directly Between Windows and Linux?
I’ll share my reasons why here:
- I have 2 separate work streams for windows and linux respectively on my PC:
- Certain tasks are more optimal to do on windows e.g. CAD, video/photo editing etc.
- Other tasks are more optimally accomplished on linux software: file management, code development etc.
- The workflow eventually bleeds over from windows to linux (or vice versa) and I need file transfers to complete my work e.g. adding images to this website.
Many of the images hosted on this website were created on a windows PC. And I painstakingly used Google Drive, as the method of file transfer.
This process was so laborious that it was enough to motivate me to make a better workflow. Especially when dealing with large volumes of files for every article written.
I would do “everything” in Linux if I could, but sadly some things just cannot replicate the experience on Windows. The best illustration of this is probable CAD; an engineering industry that was literally built on the foundation of the Windows OS. Sadly, there is no Linux equivalent that can do better in my experience. Not even close.
I will show you how to create a shared folder, if you end up in such a position as myself.
In the instance of this article I am running the following setup, but will likely work with any Linux distribution:
- Arch Linux - Hyper-V VM
Create Windows Shared Folder
On windows, you need to decide where you will keep that shared folder, you can make it any given directory. For illustrative purposes, I’ve called mine “vm_share”.
You can right click and going into the properties of “vm_share” folder. Click on the Sharing Tab and click the Share button. You will need to share with your own Windows User.

Then on Advanced Sharing, you will need to check “Share this folder” checkbox and set the permission of the folder. I’ve current set mine to Read and Change.

Before you completely exit out of the properties, take note of the network path. For me it looked like this:
- \\DESKTOP-R1B3P7P\vm_share_folder

Find Default Switch IP Host PC/VM
Now you need to find he IP address of the Windows host in order for the Linux VM to connect (mount file systems).
You will need to find the name of your PC – mine is : DESKTOP-R1B3P7P
With the later revisions of Hyper-V, you will probably not need to configure any Virtual Switches, it should be working out of the box with “Default Switch” in my experience.
You may want to create variable (for the later bash script) which dynamically grabs this IP should it change in the future. The variable could be equated to this bash command:
nmblookup DESKTOP-R1B3P7P | head -n 1 | cut -d ' ' -f 1
Here of course you can just substitute for your own PC name.
Create Mount Point
I haven’t tested extensively, but I’m assuming you can mount the shared folder onto any directory you wish.
At the time of writing, I decided to create mine in /mnt/Hyper-V like so:
mkdir /mnt/Hyper-V
CIFS - Common Internet File System - Install Program: cifs-utils
Microsoft developed their own system called CIFS (Common Internet File System) and it is the client for their file management. Therefore, you will need to download cifs-utils for Linux to work with that system. You can download like so on Arch:
sudo pacman -S cifs-utils
Edit FS Tab
In order to have a mountable folder on Linux, you would need to specify this in your /etc/fstab file.
In our case we would like to mount onto /mnt/Hyper-V
Run Sudo vim /etc/fstab to edit the file and add the following line to the bottom (underneath my existing partition mount points):
# Hyper-V
//DESKTOP-R1B3P7P/vm_share_folder /mnt/Hyper-V cifs username=Filip,domain=sealab,noauto,rw,users 0 0
Replace with desktop name,folder,usernames with your own set-up.
Note the slashes must be in the forwards orientation to conform to the linux file system.
Write Bash Script to Mount Windows Shared Folder to Linux File System
Now you can put the mounting commands into a script such that you don’t always need to type the full command for the mounting procedure. It could also be stuffed into some kind of systemD process for it auto-run when you boot up (if you want). You can name the script whatever you want and place wherever you want.
mount -t cifs //DESKTOP-R1B3P7P/vm_share_folder /mnt/Hyper-V -o , ip=<Enter your Host PC IP Address e.g. 152.41.97.1>
Reminder that you Ip address can be bundled into a variable using —-> nmblookup DESKTOP-R1B3P7P | head -n 1 | cut -d ’ ’ -f 1
A potential mounting script can look like this, but you can customise to your liking:
#!/bin/sh
desktop="DESKTOP-R1B3P7P"
windows_folder="vm_share_folder"
linux_folder="/mnt/Hyper-V"
desktop_ip=$(nmblookup $desktop | head -n 1 | cut -d ' ' -f 1)
mount -t cifs //$desktop/$windows_folder $linux_folder -o,ip=$desktop_ip
I’ve only extracted the variables to help make the mount command appear more readable. And also the IP address for the desktop will be pulled out dynamically with the nmblookup command.
Execute Bash Script
After executing the script, you will be prompted for the windows pwd which can enter into the terminal. And if there are no errors, you should be able to access vm_shared (Windows) from /mnt/Hyper-V (Linux).
Hopefully the article assists in helping you get a more seamless file transfer experience between Windows and Linux.